Wirth Furniture
Located on Historic Downtown Main St
Woodland, California | Est. 1946
Wirth Furniture is a family-owned business since 1946, spanning over three generations. Located at 515 Main Street in beautiful downtown Woodland, California, Wirth Furniture began as a Mercantile store and eventually became what it is today; a home interiors retail store that sells medium to high end furniture, flooring, upholstery, window coverings, and custom draperies all for a very good value.
Our History
1910
Moved into 515 Main Street
The Wirth Family moved to this location and opened a mercantile.
1946
Wirth Furniture established
Eldee Wirth and his wife established Wirth Furniture in January 1946.
1974
Second Generation Owner
Eldee's son, David, comes back from college to take over the family business. He and his wife, Kim, take the reins and make it their own.
1989
Master Craftsman Joins
Rueben Guerrero, Master Craftsman in upholstery and woodworking, joins Wirth Furniture. He has a steady following because of his attention to detail and expectation of excellence. Rueben is retiring and is practicing his craft on a limited basis.
2010
Third Generation Owner
David and Kim's son comes on board as co-owner and Manager.
2017
Looking to the Future
The Wirth team is excited about the growth of Downtown Woodland; a newly renovated theatre, additional restaurants, and other retailers mean more foot traffic to Main Street.
0
Yrs at 515 Main St
0
Generations of Owners
0
Pillows Fluffed
0
Pieces Moved
Our Team
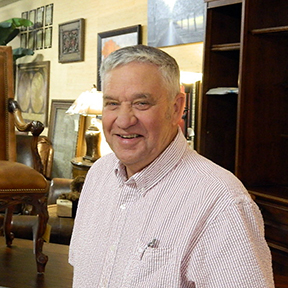
David Wirth
Owner
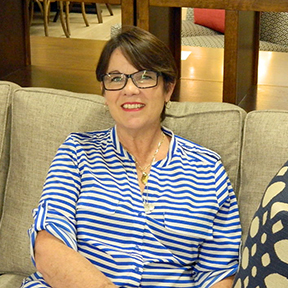
Kim Wirth
Owner, Interior Designer
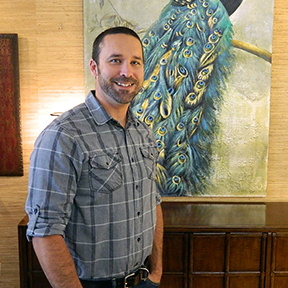
Zach Wirth
Owner & Manager
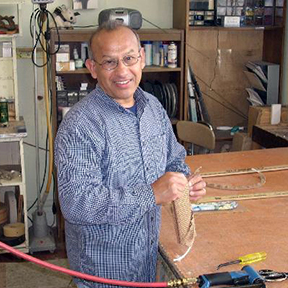
Rueben Guerrero
Master Craftsman
(semi-retired)